In the modern Linux community, there is an opinion that installing Archlinux is a very complicated and tedious process, and an unprepared user should not even try to flatter this jungle. In this article, we will try to visually refute all these stupid misconceptions using the example of the new Archlinux installer.

Training
Although the Archlinux distribution has become more popular lately, many people continue to ask questions about where to download it and how to burn it to media.
You can always download a clean system without unnecessary packages and viruses from the official website of the project. Recording to media is best done using Belena Etcher in order to avoid errors. Let’s move on to the installation.
Installation
Installation is very simple and should not cause any difficulties. We insert our media into the PC and reboot. The command line meets us. We enter the ArchInstall command and wait for the script to work.

The script launches the configuration menu, which lists the options for configuring the system modules in order. We skip the first two points that are responsible for the language of the installer with input, and proceed to configure the future OS. In order not to produce hundreds of screenshots, we will divide the installation into modules: files, user, and system components.
Files
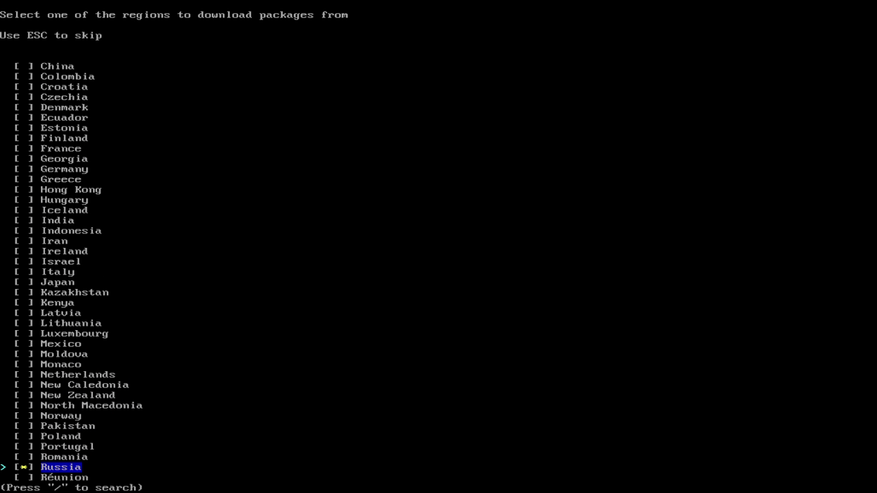


- Select mirror region answers from the repositories of which country you will download packages for working and installing OC.
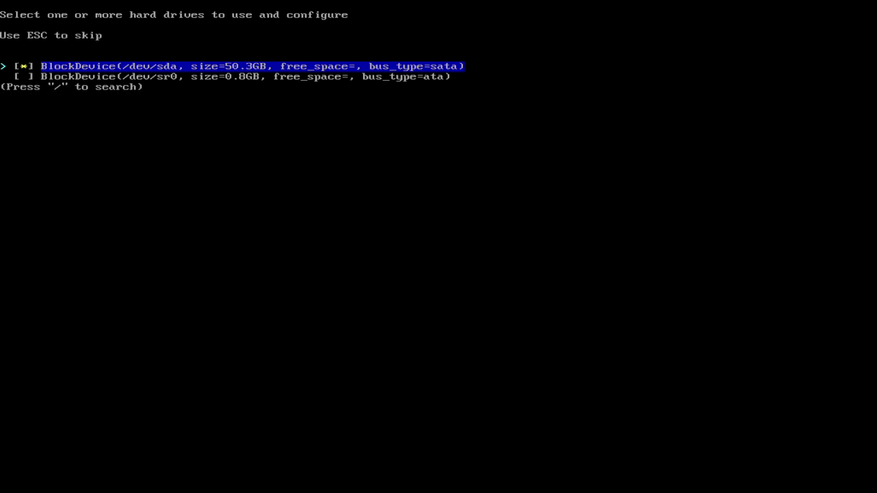
Choose your country and continue. - Select harddrives allows you to specify which drive to install the system on. Select the desired media again.
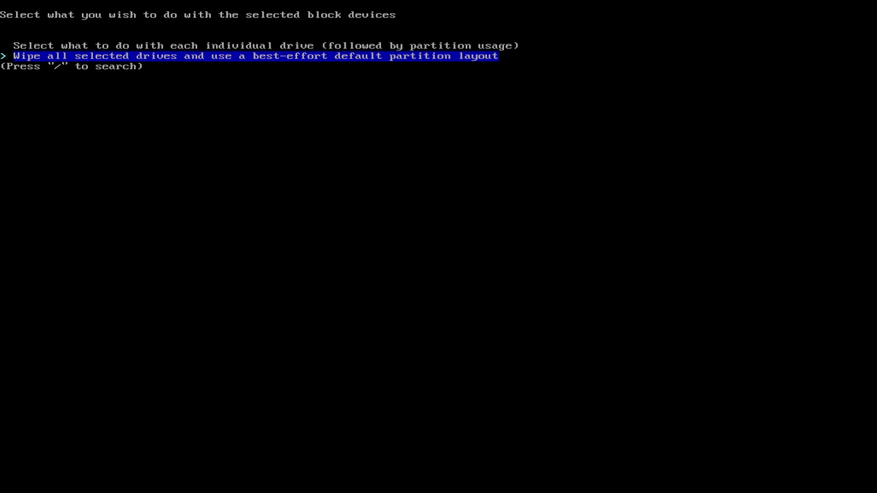
- Select disk layout is responsible for formatting. Select Wipe all (delete everything from the disk) and the desired file system.
File systems:
- BTRFS is a new file system that combines data safety and speed performance. Use only for SSD.
- EXT4 is a proven universal file system that is ideal for HDDs and SSDs.
- F2FS is a file system created specifically to unlock the potential of Samsung SSDs.
- XFS is an old file system for movie stations. Not suitable for desktop.
- Set encryption password can be omitted if you do not need to encrypt the content on the disk. Personally, I skip.
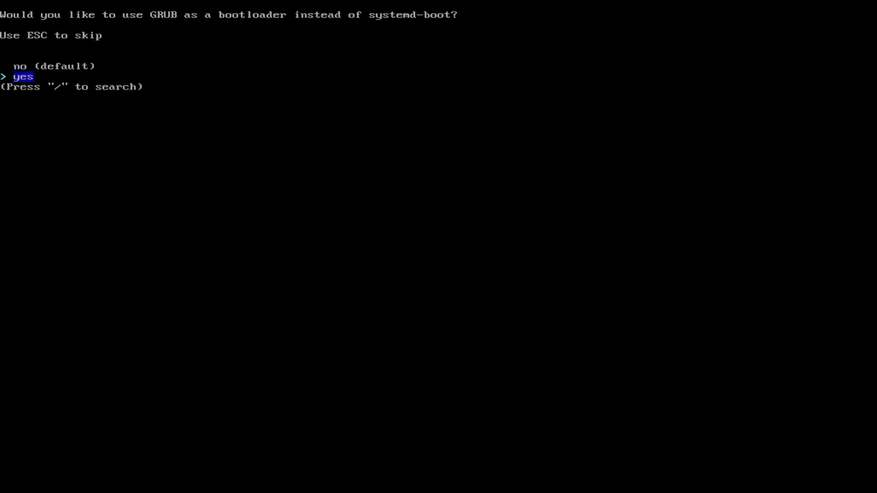
- Select boot loader is responsible for choosing the bootloader, that is, the software that will load our system.
In fact, there are a lot of bootloaders, but the ArchLinux developers chose not the best option out of the box.
Select yes, and the bootloader itself will change to the familiar Grub. - The next two paragraphs are devoted to creating a Swap and naming a computer on the network ( Use swap and Specify hostname) , they can be skipped, since this will not have any significant impact on the operation of the future system.
User

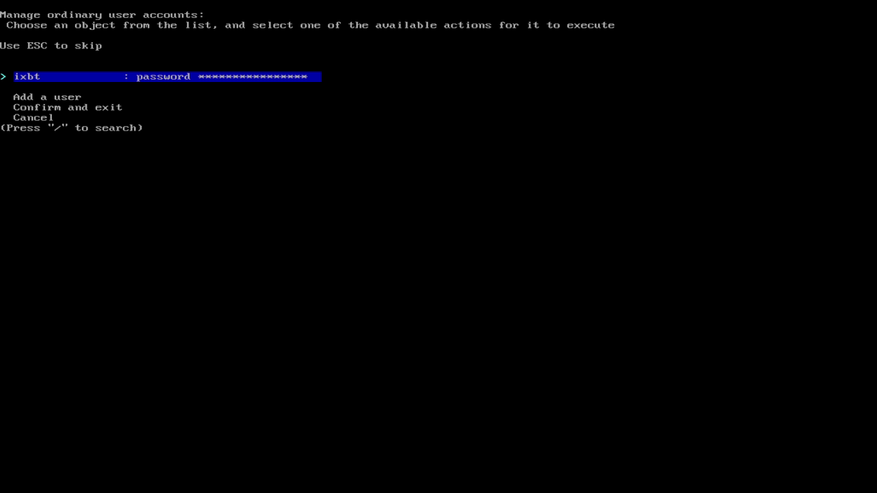
Finally, we got to the main modules that are responsible for adding and configuring a user account:
Set root password (Assign an administrator password), Specify user account (create a separate user). We re-enter the desired data and proceed to the configuration of the main components of the system.
System Components
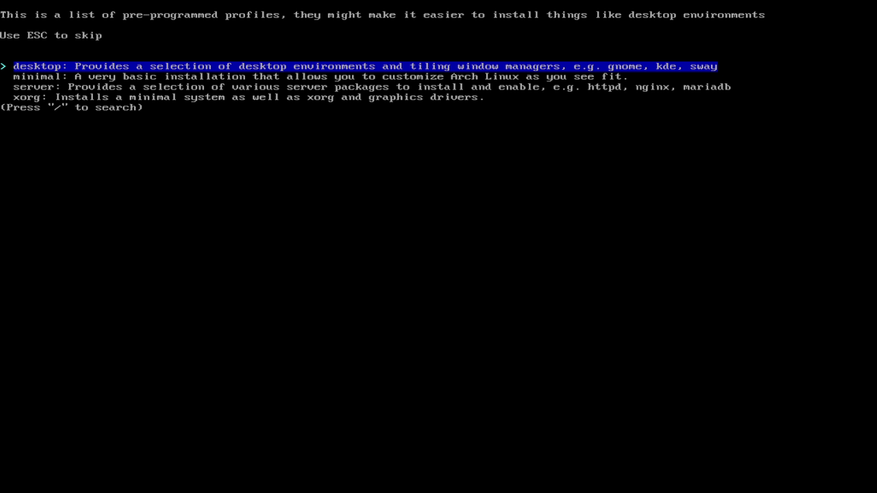
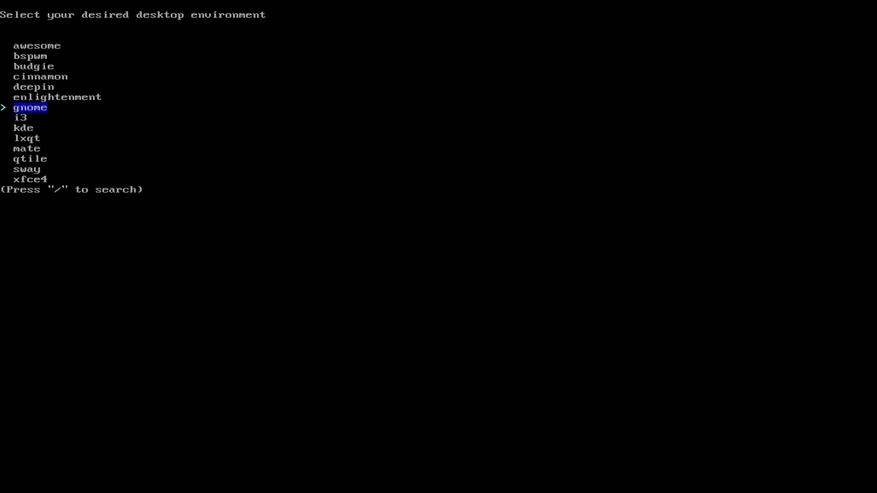
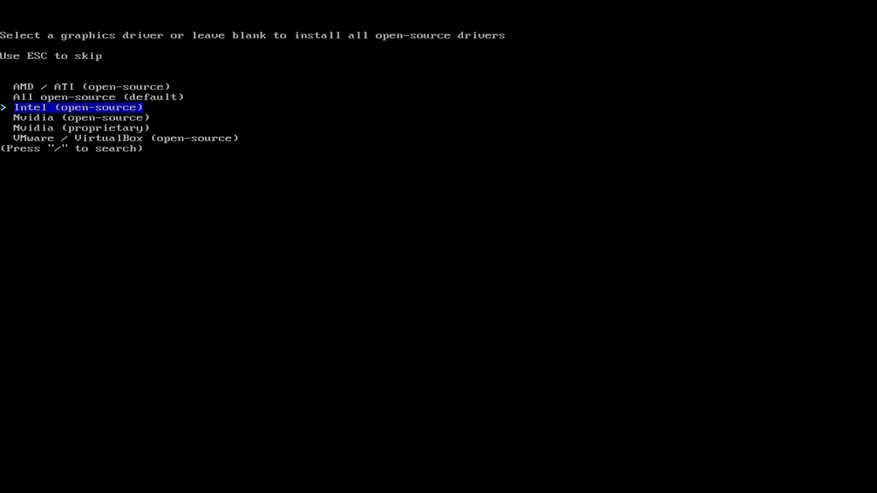
Specify profile allows you to select a very extensive list of pre-configured components: pre-package base, graphical environment (DE) and video drivers. If you are not an advanced user, then choose Desktop, KDE or Gnome and a video driver depending on your video card. Next will be the items responsible for the sound ( Select audio ), the system kernel ( Select kernels ), adding software ( Packages to install ), setting the time ( Select timezone and Set automatic time sync ).
All of them can be skipped, as they are already pre-configured. (If you are not using DE, then select Select audio).
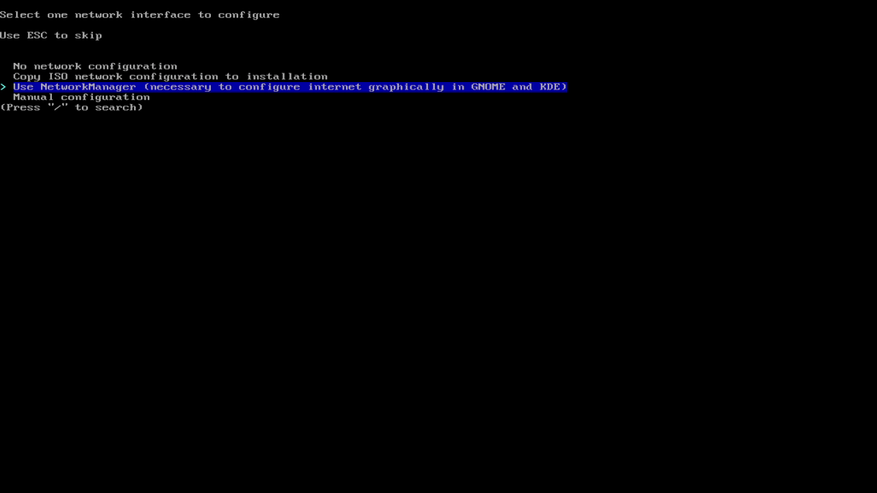

We now select the Internet settings ( Configure Network ) and use the repository with 32-bit libraries ( Repositories to enable ). For any type of connection, it is better to use NetworkManager due to its versatility and multilib if you are going to install Wine or Steam. Select Install and start the installation.
Video version of the installation
Example of a working system
If you did everything right and chose Gnome as your working environment, then you will get something like this system.
You can always find all the additional information about post-installation tuning in the ArchLinux optimization topic or in our ARU file.
Results
That’s all, in less than 5 minutes we installed one of the most complex Linux systems in the world and dispelled stupid misconceptions about the complexity of its installation. Try this system too, because it may turn out that it is exactly what you have been looking for for so long.


