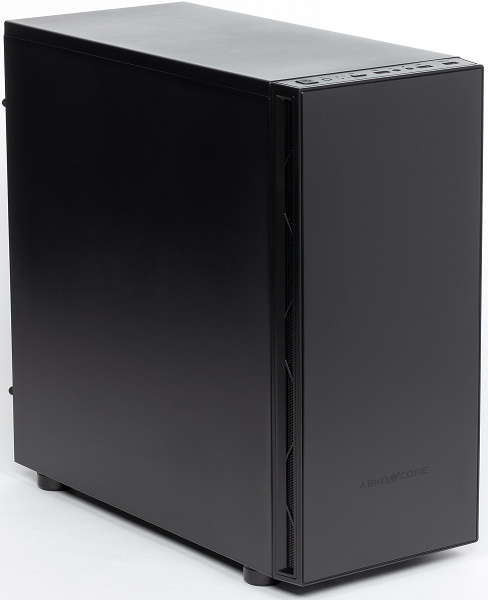
The third Abkoncore case that came to us for testing is called the Cronos Zero Noise Stone and has the model designation S500. As the name implies, the case is focused on assembling quiet systems and has some soundproofing properties. Its estimated cost is 5 thousand rubles.
Compared to the older model S700 , which we met earlier, the body of the Abkoncore Cronos Zero Noise Stone is much more compact and lighter and does not make such a monumental impression. Also in the Zero Noise series, the company’s product range includes another case: the smallest Abkoncore Cronos Zero Noise Mini, designed for microATX boards.
The packaging of the case is an ordinary cardboard box with monochrome printing without a carrying handle. The scope of delivery includes a standard mounting kit in one bag.
Layout
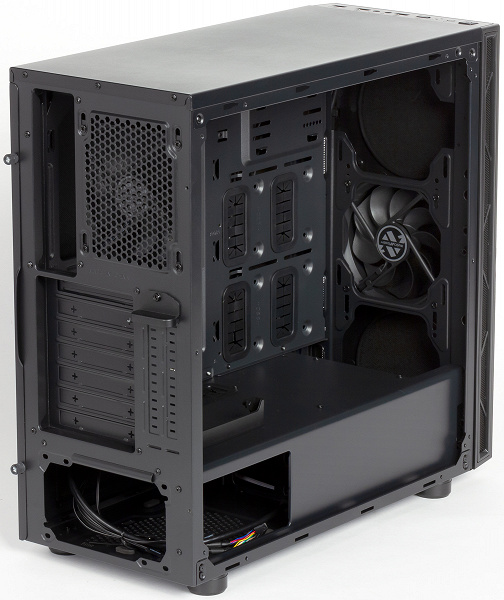
The layout solutions of this model are determined by modern trends in hull building. In this case, the developers abandoned the 5.25″ device bay, and the usual 3.5″ device bay is located under the PSU cover near the front wall of the chassis, but it is present in a truncated form – only two disks.
| Our measurements | Frame | Chassis |
|---|---|---|
| Length, mm | 465 | 418 |
| Width, mm | 205 | 202 |
| Height, mm | 451 | 430 |
| Weight, kg | 7 |
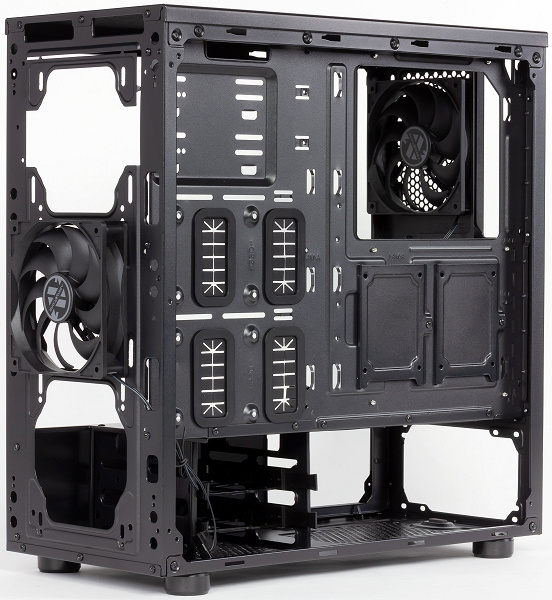
The case is a tower-type solution with a vertically placed ATX format board (and smaller) and a bottom-mounted horizontal power supply. The casing covers the installation site of the power supply from the left wall, giving the interior of the case neatness and completeness.
The case completely lacks seats for drives with external access.
Cooling system
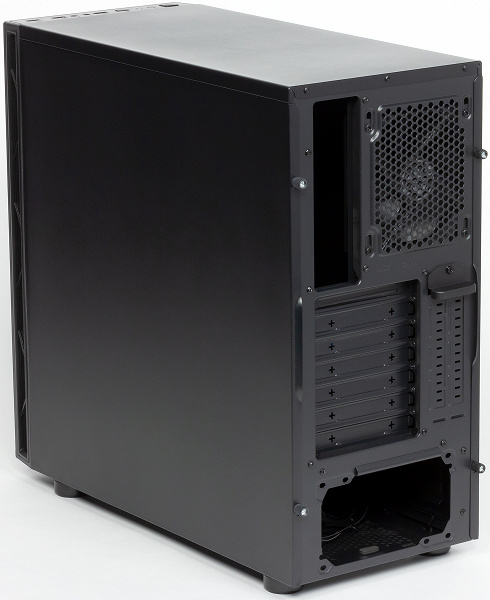
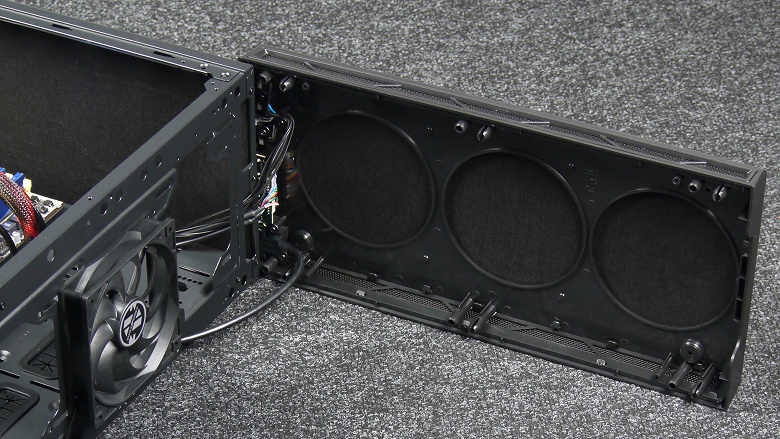
The case provides the ability to install up to four fans size 120 and 140 mm. Seats for them are available in front and behind.
| Front | Above | Behind | On right | Left | |
|---|---|---|---|---|---|
| Seats for fans | 3×120/2×140 mm | No | 1×120 | No | No |
| Installed fans | 1×120 | No | 1×120 | No | No |
| Seats for radiators | 1×120/140/240/280mm | No | 1×120 mm | No | No |
| Filter | No | No | No | No | No |
The kit includes two 120 mm fans, one of which is installed at the rear and the other at the front. The latter does not have any adjustment of the rotation speed, since it is connected only to the peripheral connector of the PSU (“molex”). The rear fan has a standard 3-pin connector that can be connected to a voltage controlled motherboard.
What is dictated by the use of fans with different connectors in one device, one can only guess.
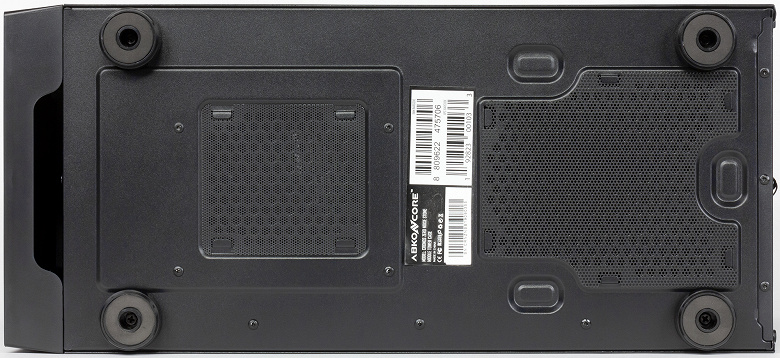
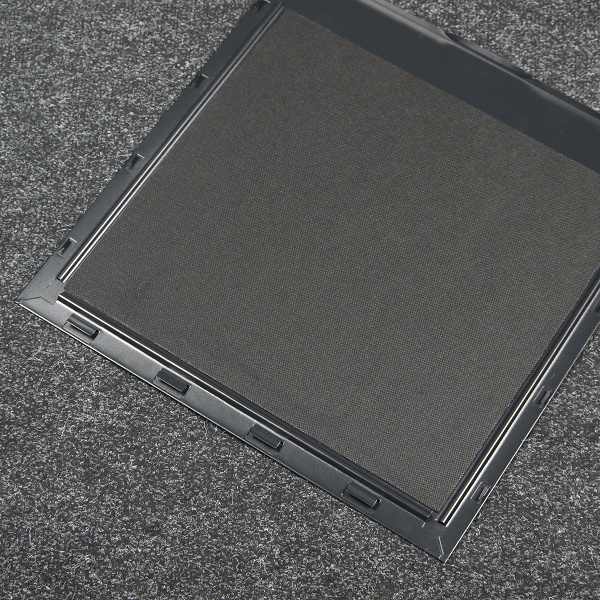
The filter under the power supply is made of coarse mesh, which is a stamped sheet of plastic with round holes. It has no frame. And if you can still somehow remove it to the touch, then putting it back is already difficult. The same filter is in the area of the basket for disks.
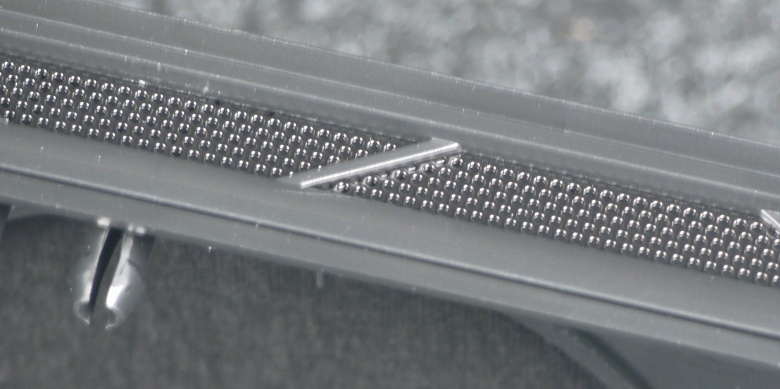
In front of a full-fledged filter that covers all the holes, there is also no. True, the supply openings located at the ends of the front panel are covered with a large-mesh steel mesh, but its filtering capacity is approximately the same as that of the element mentioned above.
Design
The case weighs about 7 kg. Additional rigidity is provided by pasting all panels, except for the bottom and rear, with soundproofing material based on synthetic fabric with special impregnation. Additionally, this gave the effect of the absence of the sound of an empty bucket when tapping on the walls of the case, and a similar sound is observed in many cases, including eminent companies.
The side walls are a steel panel with a conventional tongue-and-groove system, as in budget cases. They are fastened with two thumbscrews. More precisely, the screws here with a pressed plastic overlay are such an economical version of the execution of a screw with a knurled head.
The top panel is made of steel, there are no holes in it. On the inside, it is pasted over with a sheet of soundproofing material.
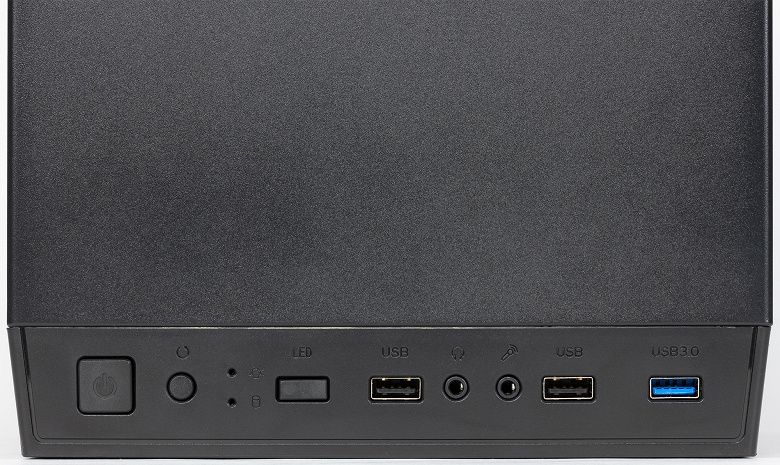
The upper part of the front panel contains the controls and switching elements. They include two USB 2.0 and one USB 3.0 ports, standard microphone and headphone jacks, a large power button and a round reset button. There is also a backlight control button, although the body is devoid of backlight.
The USB ports are located far enough apart, which allows you to connect fairly wide devices to them at the same time. The bearing part of the front panel is made of plastic, which is painted in mass, and the front part is made of steel. Dismantling the front panel is complicated by the wires suitable for it. On the inside, the panel is pasted over with a sheet of soundproofing material.
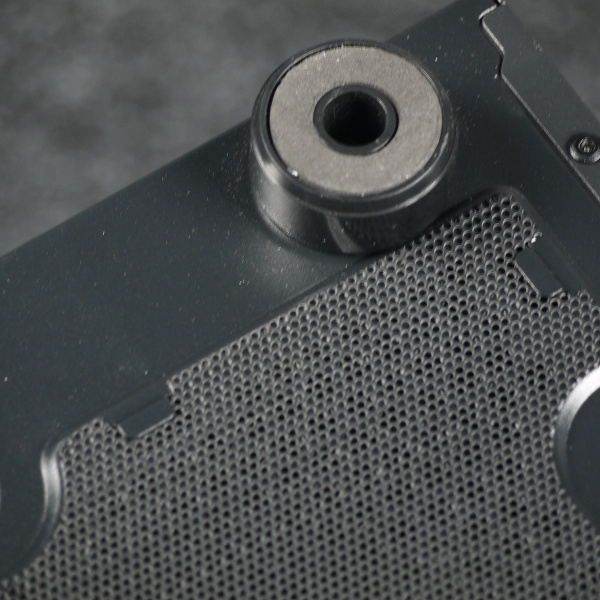
The legs of the body are entirely plastic, they have shock-absorbing pads about 3 mm thick, made of a material similar to foam rubber. Placed pads in the recesses. It’s certainly not rubber, but it’s better than nothing.
Drives
| Maximum number of drives 3.5″ | 2 |
|---|---|
| Maximum number of drives 2.5″ | 6 |
| Number of drives in the front basket | 2 |
| Number of drives on the front side of the system board base | No |
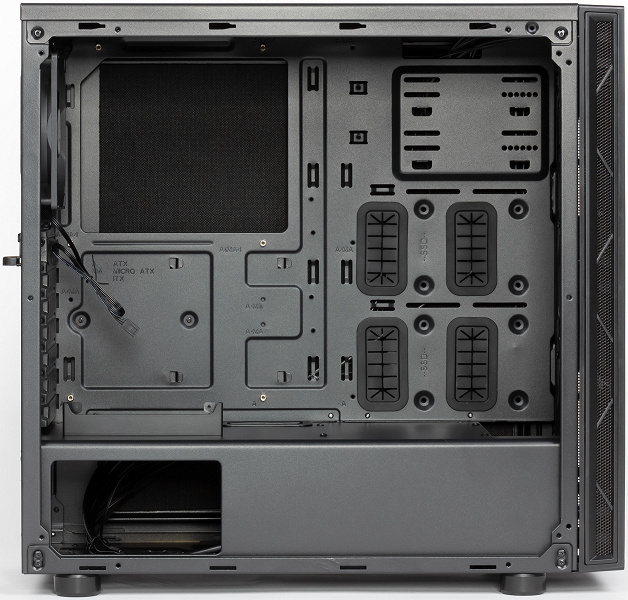
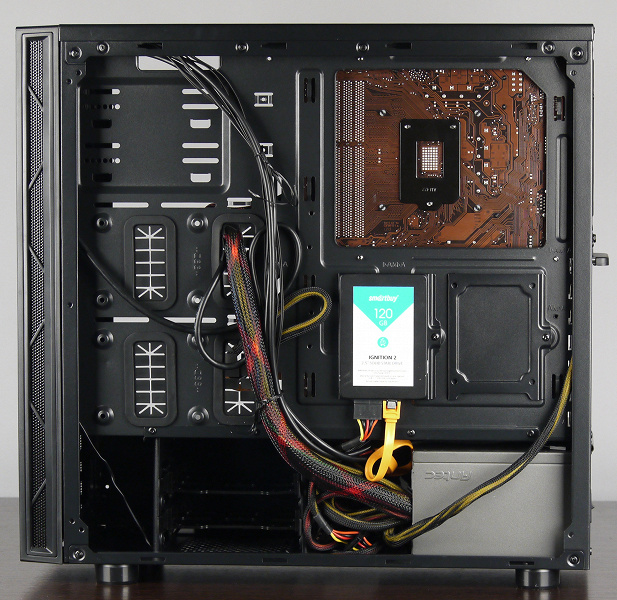
| Number of drives on the back of the motherboard base | 4×2.5″ |
Full-size hard drives are installed in a double basket designed for them through plastic frames. The disc is attached to them with pins and four screws from the bottom side. The frames are fixed by simple shifting, the fastening reliability is relatively high.

Note that these frames are universal, they can be used to install 2.5″ drives with drives mounted through the bottom.

Two more seats are located between the system board and the front wall of the chassis. Drives are mounted vertically with bottom mount on the back side of the motherboard base.
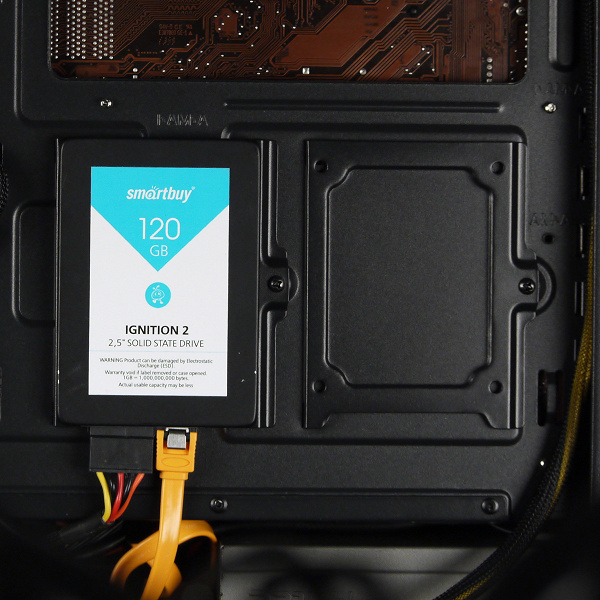
There are also two quick-release carriers for 2.5-inch drives, which are installed on the back of the system board base and are fixed with one screw each.
In total, you can install six 2.5 ″ or 2 × 3.5 ″ and 4 × 2.5 ″ drives. This is quite enough for a typical home computer of a low price category.
Assembly of the system unit
Both side walls are attached with two thumbscrews and the usual slotted push-and-slide system. The walls have standard sizes, but it is more convenient to put them on a lying body. Some of the racks for mounting the motherboard are pre-set by the manufacturer. This was done, apparently, based on the dimensions of the narrowed ATX board, and to install a full-size board, you will need to screw in a few more racks.
It is better to start the assembly by installing the power supply and laying wires to connect the motherboard.
The PSU is installed on the right side and fixed with four screws. The case provides for the installation of power supplies of standard sizes. The distance between the rear panel of the case and the basket is about 230mm. We recommend choosing a PSU with a body length of no more than 160 mm, as in this case there will be more space for laying wires.
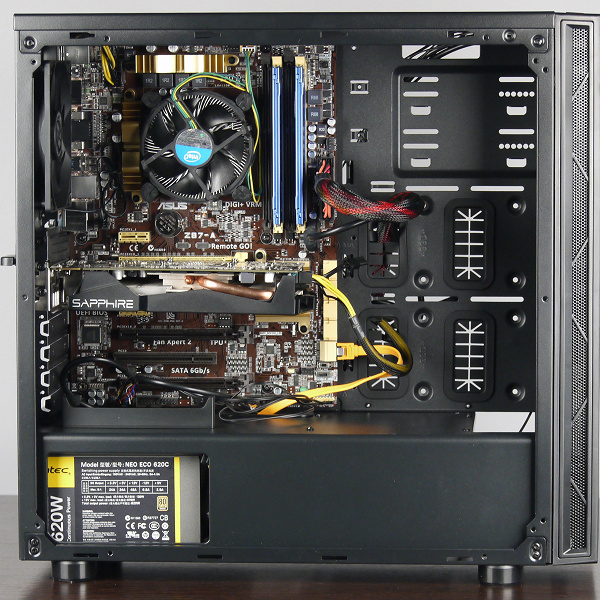
In the case, according to the manufacturer, you can install a processor cooler up to 168 mm high. The distance from the motherboard base to the opposite wall is about 180mm.
| Some installation dimensions, mm | |
|---|---|
| Declared CPU cooler height | 168 |
| System board bay depth | 180 |
| Wiring Compartment Depth | 20 |
| Distance from the board to the fan mounting holes on the top of the chassis | — |
| Distance from the board to the top wall of the chassis | 20 |
| Main graphics card length | 395 |
| Additional graphics card length | 395 |
| Power supply length | 180 |
| Board Width | 244 |
The depth of the wiring compartment is about 20 mm at the rear wall. For mounting wires, loops are provided for fastening screeds or other similar products.
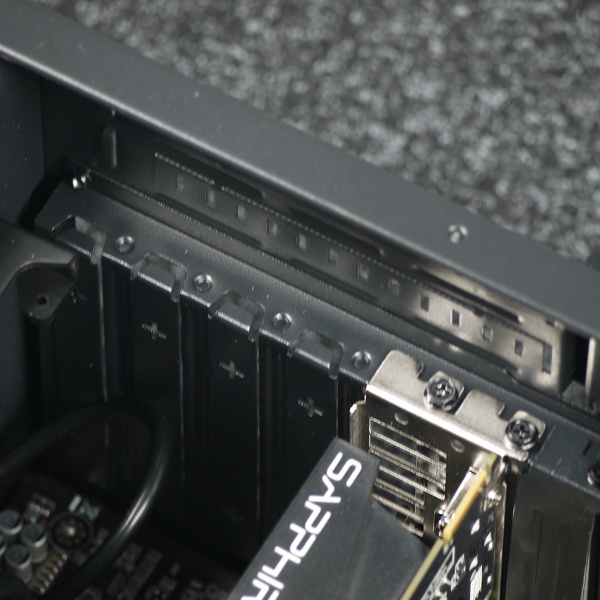
Next, you can install the required expansion cards, such as a video card, which can reach a length of about 39 cm, if the volume of the case between the motherboard and the front wall of the chassis is not occupied by anything. The system for fixing expansion cards is the most common: screw fastening from the inside of the case with individual screw fixation. Plugs are disposable, except for the very first one (for a video card).
The ports and connectors of the front panel are connected quite standardly: USB and audio – with monolithic multi-pin connectors, everything else – with single-pin and two-pin connectors.
Acoustic ergonomics
This case has two fans, one of which is powered by a PSU peripheral connector (“molex”), that is, it is supplied with a constant voltage of 12 V from the power supply output. To control the speed of this fan, you must either use a controller that has such connectors, or remake the connector to power the fan from the motherboard. The easiest option is to just throw it away, as for most typical configurations, one exhaust fan will be enough. And in the case of assembling a system with increased heat dissipation, both case fans will have to be changed, since they have low performance.
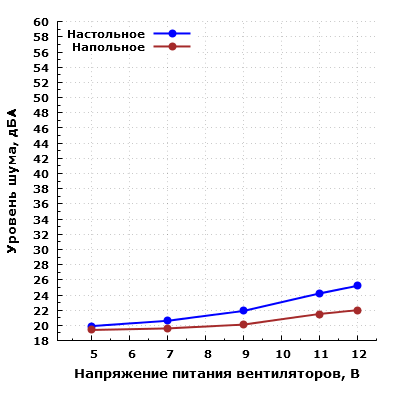
On the other hand, the noise level in both floor and desktop placement of the case is very low over the entire range of fan voltage regulation (from 5 to 12 volts). Thus, the case lives up to its name.
Results
Abkoncore Cronos Zero Noise Stone is an inexpensive solution, but not the worst, and even with its own twist. Of its features, one can note the presence of a soundproof coating and solid walls around the perimeter. There is also no backlighting. The design is made in the style of minimalism, which will appeal to many.
The case is quite suitable for assembling an inexpensive computer with a wide range of functional purposes; you can also assemble an office computer based on it. As often happens, we could not do without saving on matches: one of the two regular fans does not support rotation speed control. Additional savings come from the thickness of the steel elements.
Most likely, the case will find its buyer, at least due to its low cost and a combination of not the worst workmanship and soundproofing coating, which is rare in inexpensive cases. Yes, and the steel decorative coating of the front panel is usually characteristic of cases of a slightly higher price category.